You can find the mission created following this tutorial in the game, under the name “Sample_mission_1”
[BOMB install folder]\Media\extmissions\Sample_mission_1\Scripts\
Creating the mission
Open the “Project” menu and click on “Add new mission”

This window will popup: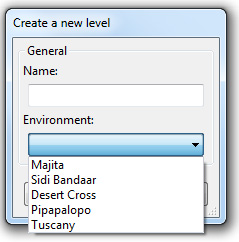
The mission name should be in the form The_coolest_mission_ever, with each word separated by an underscore.
It will be displayed in BOMB missions menu with the following name: “The coolest mission ever”
Choose the environment in which you want to create the mission. For this tutorial, choose Tuscany.
Click ok. This will create and open the new mission in the editor. This may take some time.
The player spawn
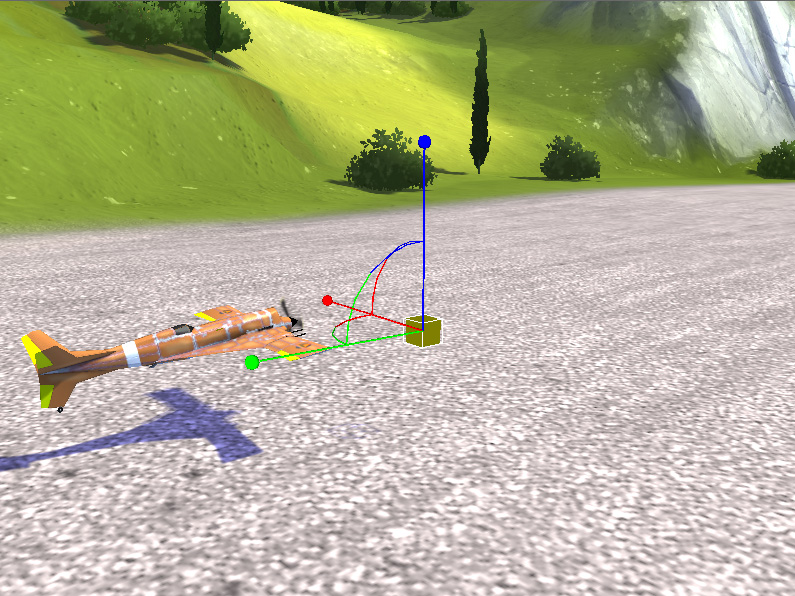
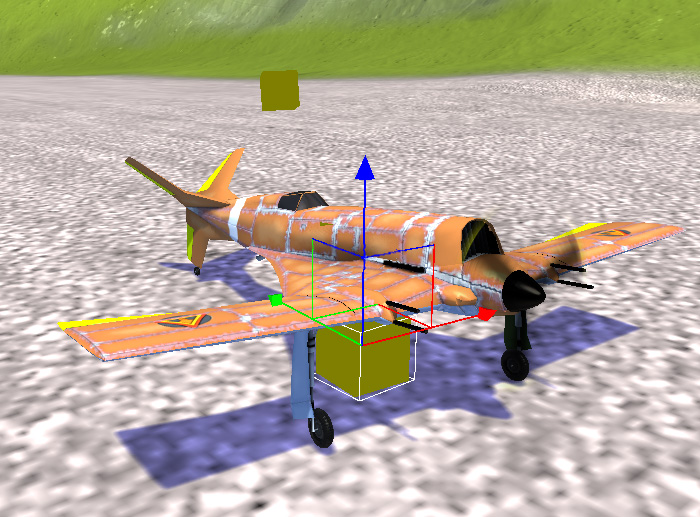
The first thing to decide for a new mission is where to spawn the player’s plane. To do it, you need to instruct the engine with a world position to use. A convenient way to obtain such 3D coordinates, is to get it from a waypoint object.
You can add such an object either by clicking Project/Add a new mission object or by pressing Control+Alt+N
This window will be displayed:
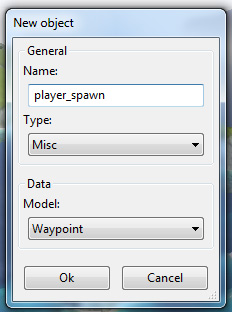
Choose whatever name you want, we name it “player_spawn”.
As a type, select Misc, and as Data, select Waypoint.
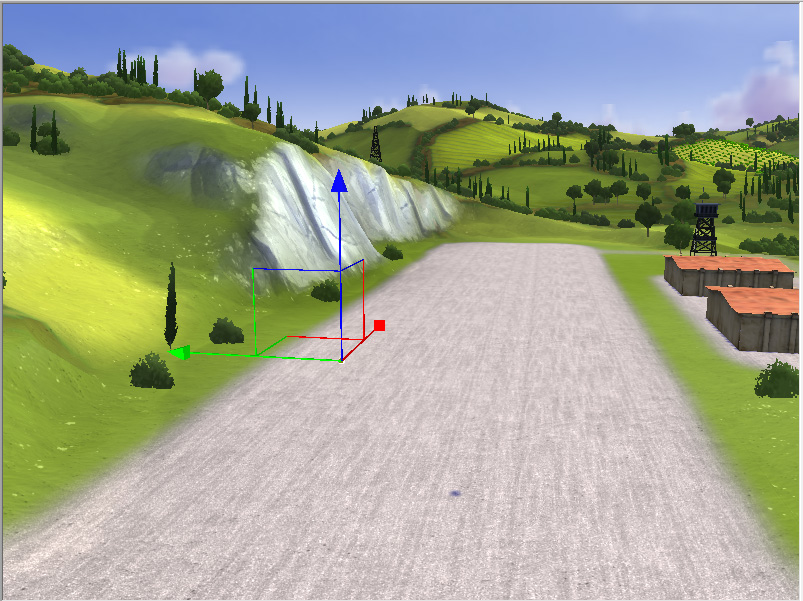
Reminder: You can select it by either clicking on it or selecting it in the left side tree view. Once selected, you can move by pressing T or rotate it by pressing Y.
Navigate through the scene and choose a nice location. In this mission we’ll spawn over one of the two airfields of the map, the one located near (X=-8200, Z=-595).
Remember you can see your current position in world in the bottom info bar !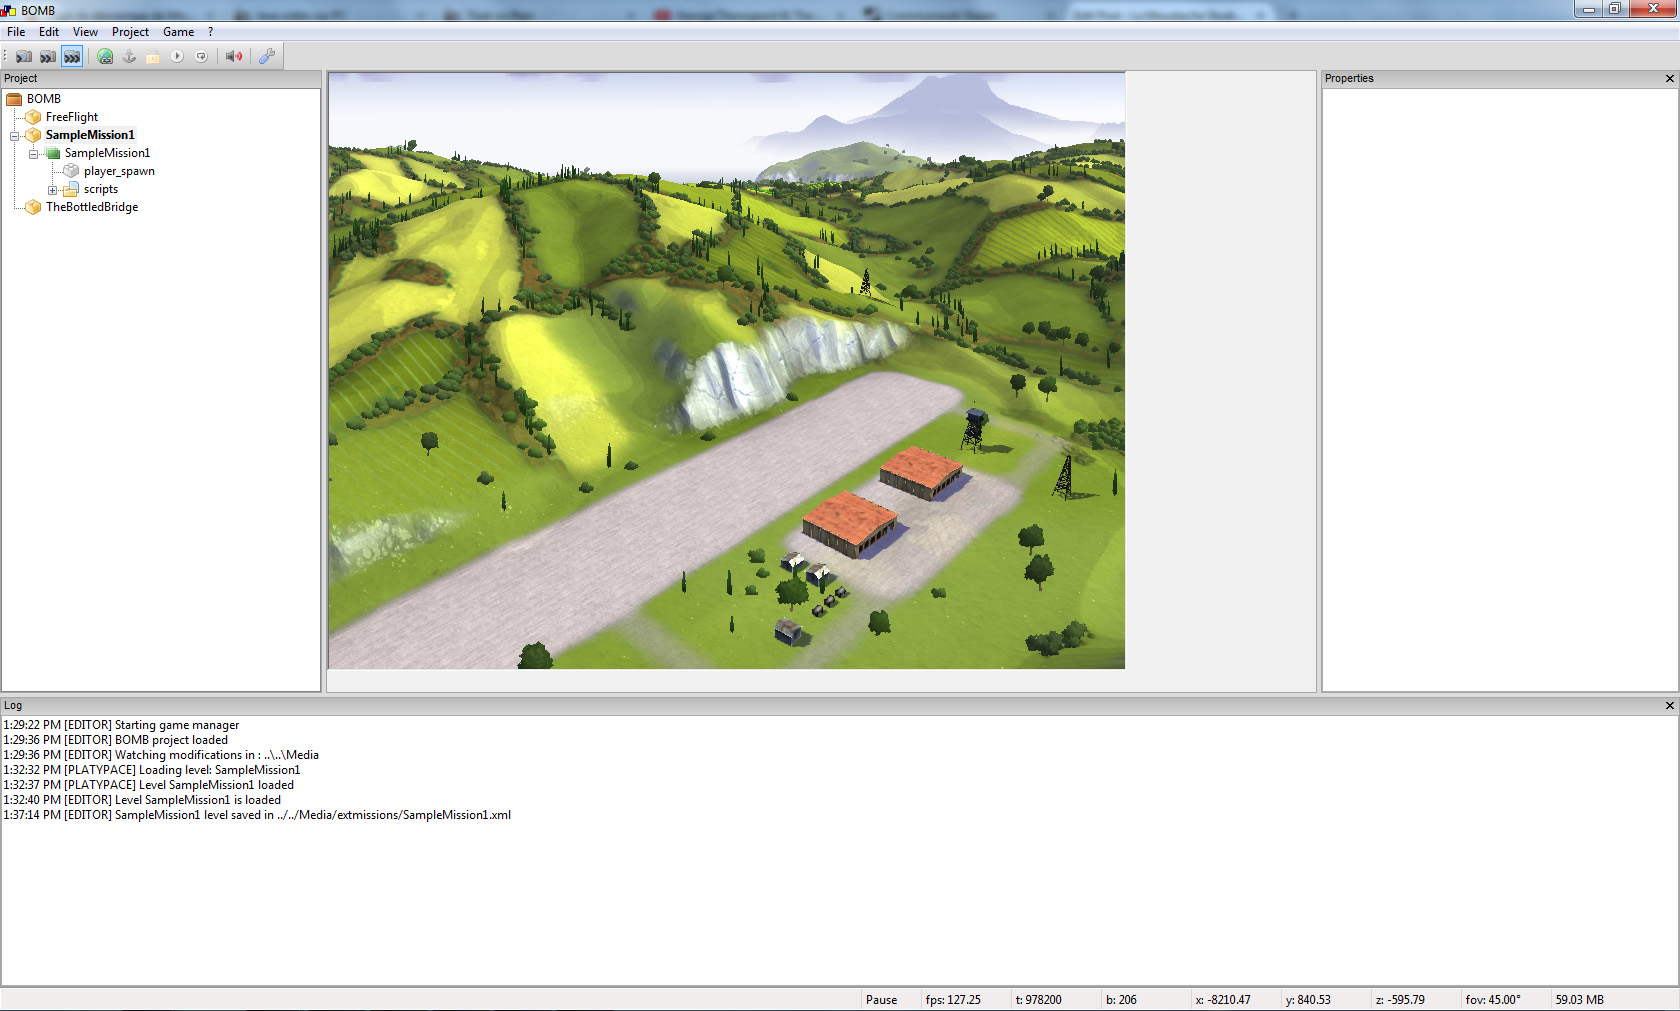
You can teleport a selected object on the terrain by maintaining alt when you left click.
Use the vertical gizmo to move up the spawn point: by default aircraft spawn flying, we wouldn’t want our aircraft to crash at spawn.
To actually make our aircraft spawn, we need to edit the mission script. Serious stuff is coming.
Open the file [BOMB_install_folder]/Media/extmissions/[MissionName]/Scripts/[MissionName].lua with your favourite text editor. We recommend notepad++.
The file looks like this:
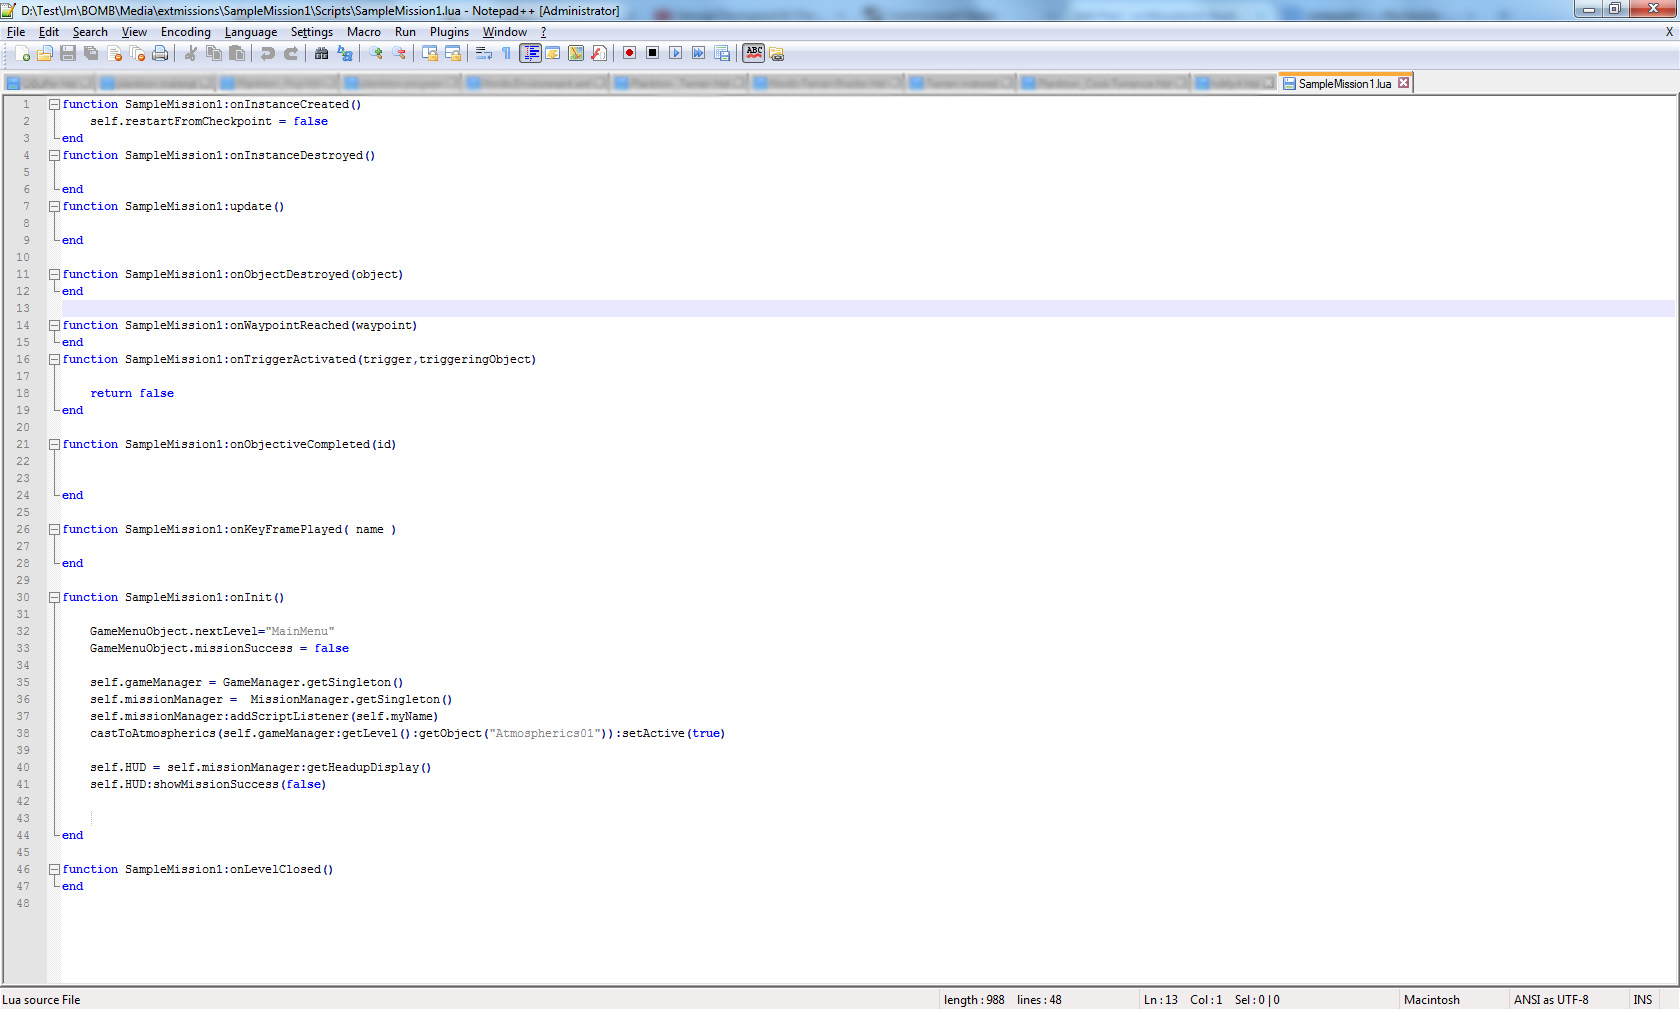
Locate the function named [MissionName]:onInit().
This function is called at each start (or restart) of the level.
After the line self.HUD:showMissionSuccess(false) (line 41), add:
self.missionManager:spawnPlayerFlight(0,"AI_PLANE_HF",1)
The first parameter is always 0.
The second one is the model of the airplane (see the skin creation tutorial).
The last one is the team of the flight. It can be:
0 neutral
1 fighting Team 1
2 fighting Team 2
Usually we set the player team to 1 and the enemies to 2.
Now gets a reference to the player’s flight by doing:
self.playerFlight = self.missionManager:getFlight("PlayerFlight_0")
And then to the player’s aircraft:
self.playerAircraft = self.playerFlight:getLeaderAircraft()
Finally, set the player initial position and orientation according to the spawn point:
local spawn_point = self.gameManager:getLevel():getObject("player_spawn")
self.playerAircraft:setInitPosition(spawn_point:getPosition())
self.playerAircraft:setInitOrientation(spawn_point:getOrientation())
And also it’s initial speed, in meters per second:
self.playerAircraft:setInitSpeed(100)
Press F6 to recompile the script and then F5 to play: the aircraft is flying !
You can stop the game by pressing F5 another time, and then press F6 to reset the level.
In this mission we’d like the player aircraft to start landed.
Teleport the spawn point somewhere on the runway.
Go back to the script and change the initial speed from 100 to 0.
Then tell the engine not to mess with physics by considering the player’s plane landed and its gear down.
self.playerAircraft:setLanded(spawn_point:getPosition(),spawn_point:getOrientation())
self.playerAircraft:setGearDown()
You’ll surely need to rotate the spawn point so that the aircraft’s direction is toward the runway. To do so, press Y and rotate along the up / y axis (the blue one) so that the direction / z axis (the green one) is parallel to the runway.
Note that the direction of the spawn point is inverted compared with the aircraft direction.
Press F6 to reset and F5 to play: our Astore is landed!
Enemy aircraft
Now we want to add an enemy flight of aircraft.
Go to somewhere in the sky, and create a new mission object, select the AI Flight category, and pick the desired model. Here, we’d like to have some Bilbies, so select AI_PLANE_11.
Name it “enemy_flight_0″.
Select the flight in the left tree view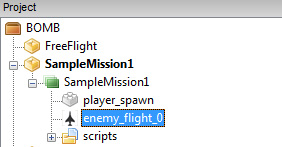
The flight properties will now be displayed on the right panel:

Change it’s aircraft count to “4” (the maximum allowed, don’t try more, this will surely crash hehe)
Then sets the team to 2
And reinit the level (F6) to make them spawn.
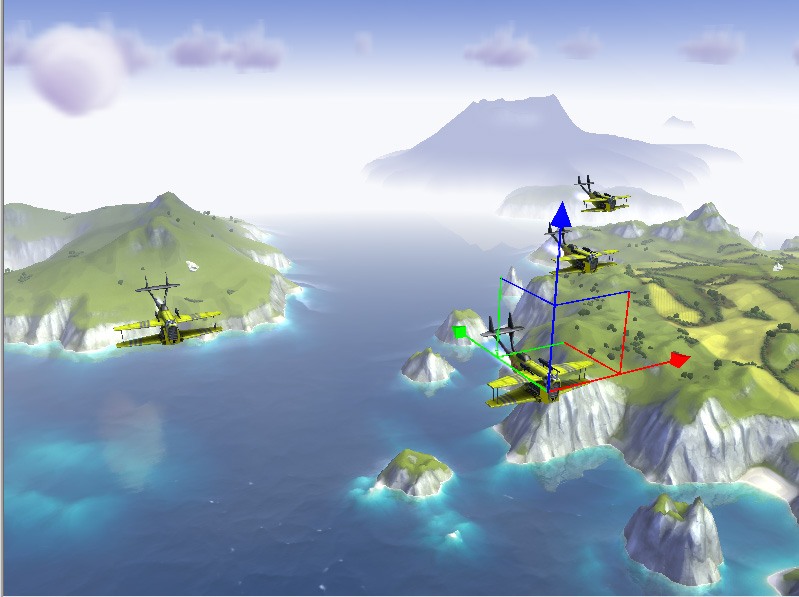
You can change their original direction by rotating the flight scene object. This is a bit disturbing because aircraft won’t reorient themselves until F6 is pressed.
All of this may seem complicated and harsh but after a few hours you’ll think it’s the best editor ever. (or not…)
Tip: It’s better to switch to “local space” transformation to rotate flights.
This flight won’t do anything until they have an objective.
We’ll now speak about one of the biggest part of the tutorial: the objectives.
Go back to the script and add these lines:
self.enemyFlight = self.missionManager:getFlight("enemy_flight_0")
self.enemyObjective = self.missionManager:addInterceptObjective(2,"PlayerFlight_0")
self.enemyFlight:setObjective(self.ennemyObjective)
The first line is obvious, we’ve seen it already: we are retrieving a reference to the flight we’ve just created.
The second line is the creation of the objective. The first parameter is the team that will treat the objective, and the second parameter is the flight to be intercepted.
The last line is obvious too: we assign the newly created interception objective to the enemy flight. They’ll now try to attack you.
We’ll see later more types of objectives allowed in the game;
Press F6 then F5 to test.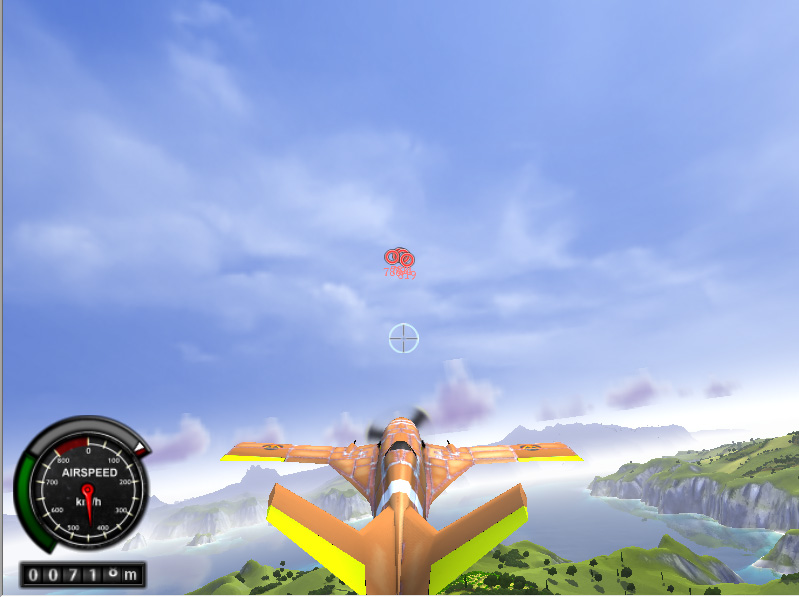
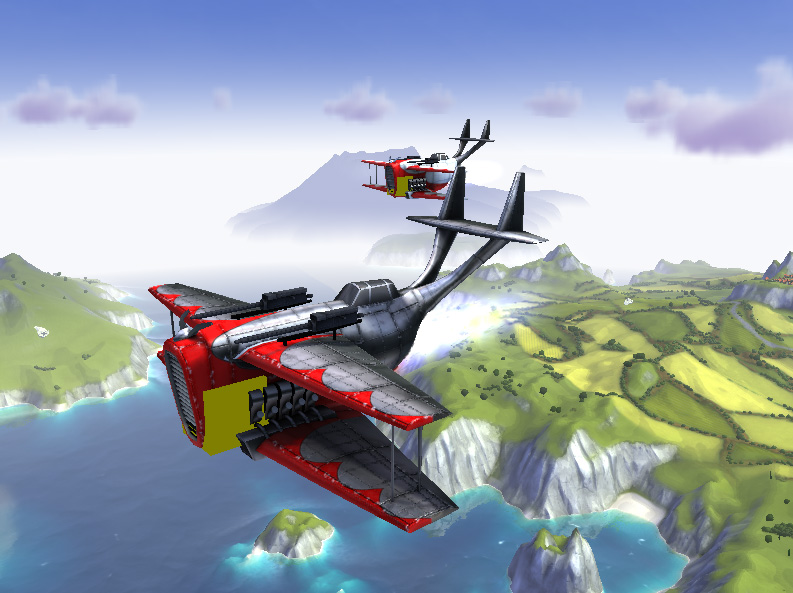
Note: the Billbies will probably never attack you directly, because as you are starting landed, they’ll first have to avoid the terrain. This is a limitation of the AI for now, we’ll fix it.
Changing aircraft skin
You can change the skin of any aircraft using the script if you don’t want them to use the default one (or if you are providing your own skins with your missions).
You can change it for every aircraft of a flight:
self.enemyFlight:setMaterial("AI_PLANE_11_racer")
Or for the leader aircraft only to give if a specific look:
self.enemyFlight:getLeaderAircraft():setMaterial("AI_PLANE_11_racer_metal")
That’s all for this time. In the next tutorial we’ll speak about the ground objects and add more objectives.