Introduction
The BOMB mission editor is a powerful tool.
It’s really different from classical mission creator tools often released with flight sim games such as Il-2 or DCS because it’s based on the level editor of our multi purpose game engine.
You may find that the mission creation workflow isn’t as simple as in other titles in the genre but one can achieve much more customized mission and objectives.
Mission building (a.k.a Level Design) consists in mainly two steps:
- Placing objects
- Scripting events
Let’s start with an overview of the interface.
Note: the editor is only available on Windows for now.
Overview
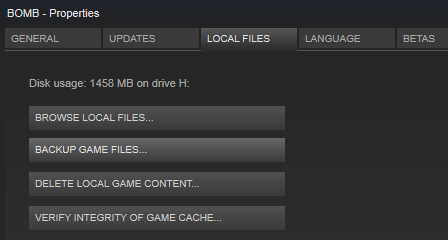
Locate and execute the MissionEditor.exe file in the [game’s folder]/Bin/Release/ folder.
If you’re using Steam, a convenient way to locate it is to click on Browse local files in the Local files tab of BOMB’s Properties.
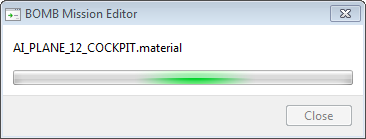
When you launch MissionEditor.exe it can be a long loading time takes some time as it will load all game’s resources at once.
Open the Free_flight level by double clicking on it in the left-side tree view.
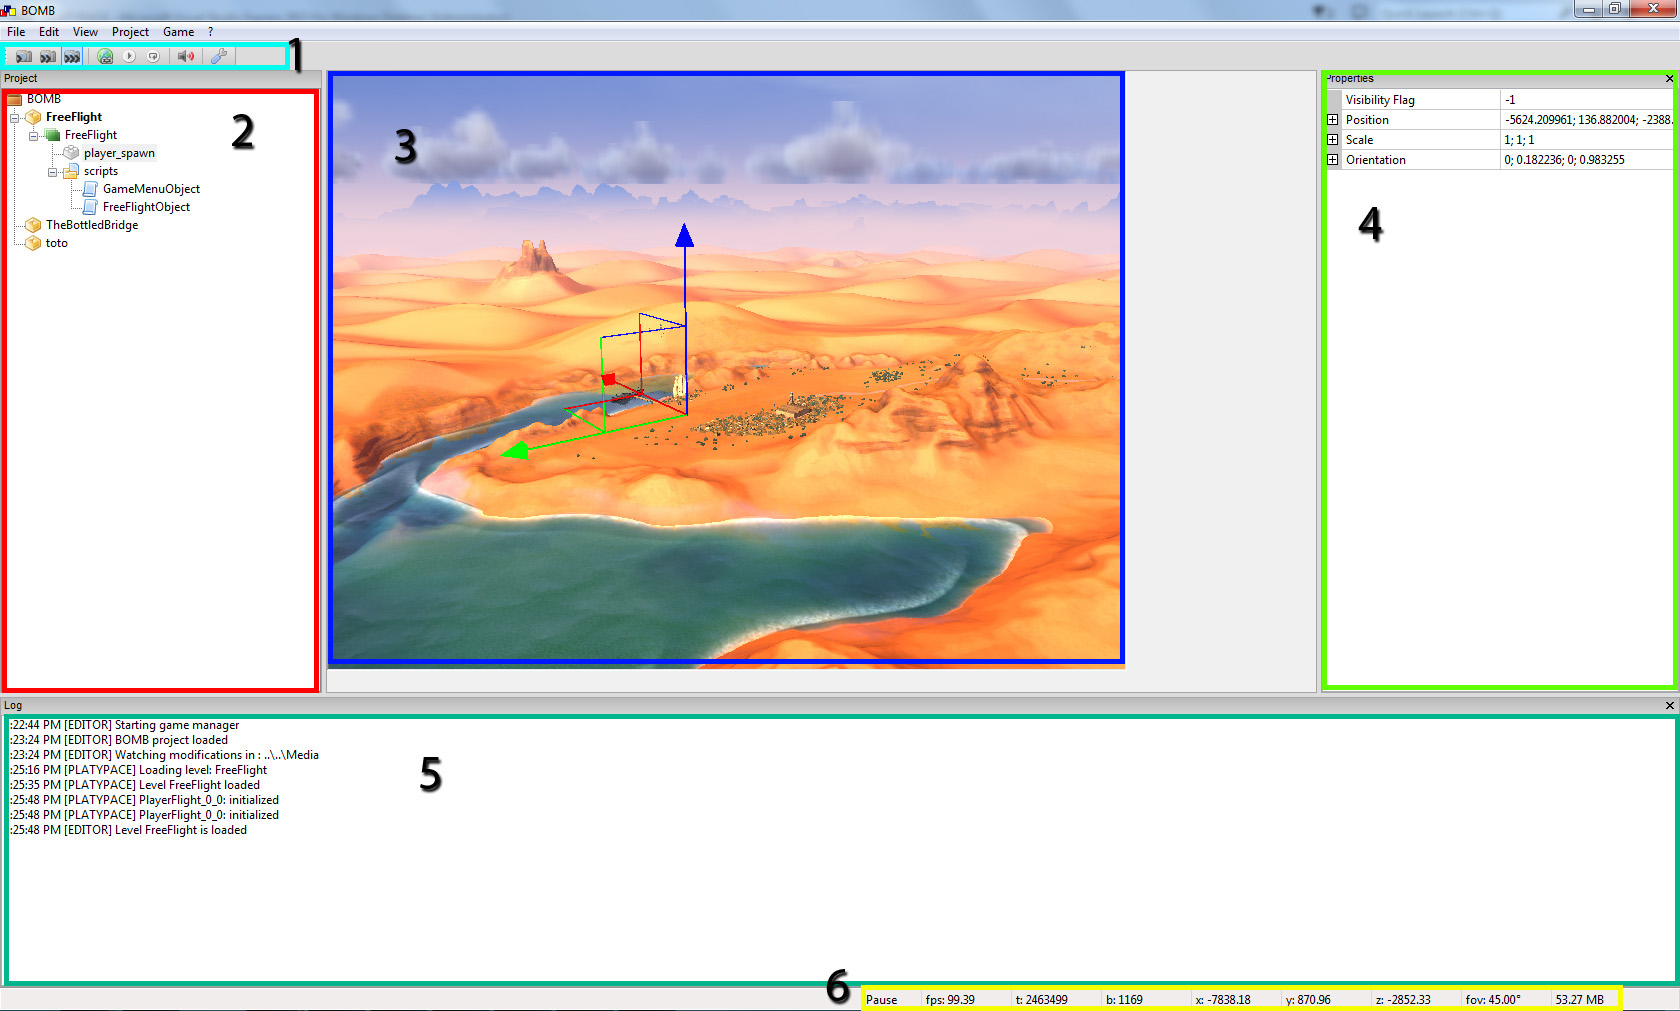
- The toolbar
- 3 camera speed buttons (from slow to fast)
- The coordinates button (the earth-looking one) switches between world-space and object-space manipulation (when moving or rotating an object)
- The play button starts playing the mission into the editor
- The re-init button resets the mission to it’s initial state
- The mute/unmute button
- The settings button, where you can change the three camera speed and also the 3D window size (need to restart)
- The tree view
- Project’s hierarchy
- The list of levels, the loaded one being boldfaced.
- The list of game objects sorted by layers.
- The 3D view, a.k.a the viewport
- You can work with objects inside this window when the game isn’t running.
- When the game is running, the content is what you’d see in game.
- The properties. Most of time you’ll never have to touch this. However for some objects like vehicles or ships you’ll need to, and this will be described in another tutorial.
- The log: same here, don’t mind about 99% of the information displayed here, but if ever you see some RED TEXT in there, something has gone wrong, surely when writing the script of the mission, and this will tell you what’s the error.
- The status bar displays some general information. Most important are the x/y/z information which tell you where you are in the level.
Using the viewport
You can navigate inside the level by using the viewport (the 3D view).
- To rotate the camera, move the mouse while holding the right mouse button.
- To move, use the WASD keys, just as in every FPS.
- Use the camera speed buttons to change the velocity of your displacement.
- You can also use the mouse wheel to move forward/backward.
The tree view
For convenience the campaign, skirmish and race levels are hidden, displaying only what we’re calling external missions, which are single missions created by us, and hopefully, you 😉
Double click on a level to load it in the editor.
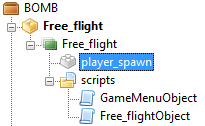
Level’s objects are sorted by layers (the green icon). The level’s layer always has the same name as the mission. This is where your objects are located.
Script files are visible in the scripts folder.
Editing objects
You can select object by either pick them in the viewport with the left mouse button or either by clicking on their name in the tree view.
Basic manipulation of objects in the level are done by dragging the gizmos, wich allow to change objects position, orientation and scale (but avoid as much as possible to change the scale).
- To display the translation gizmos, press the T key.
- To display the rotation gizmos, press the Y key.
- To display the scale gizmos, press the U key.
Properties
You can edit the object’s properties directly in the Properties view.
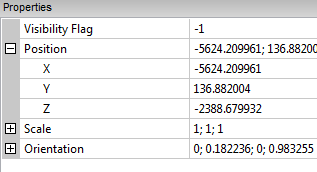
When an object is selected, its properties are automatically populated.